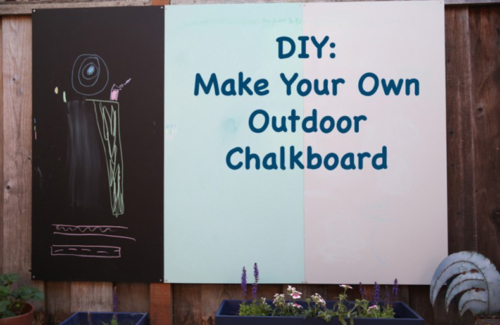
DIY: Easy Instructions to Make Your Own Outdoor Chalkboard

Kids of all ages love to doodle on chalkboards and this project will add some easy, inexpensive outdoor entertainment just in time for summer. Exterior chalkboard board made at home is surprisingly durable, and it’s easy enough to make that kids can lend a hand in the process.
What you need:
- Plywood – we used pieces that were 2 ft. x 4 ft., but pick a size that works for your space. Stores like Home Depot will cut pieces for free
- Latex paint – not much is needed and this is a great project for excess paint sitting in the garage
- Nonsanded grout – there is a little controversy with some people saying sanded works fine too. We used nonsanded, but agree sanded probably produces similar results.
- A cup and paint stick for mixing
- A paint roller or brush – we used a roller for easy of application
- A drill and screws for hanging
Let’s get rolling:
Step 1: Add 2 tbsp of nonsanded grout to 1 cup of paint in a mixing cup. Maintain the 1:8 tbsp ratio if more or less coverage is needed. Two cups of paint with 4 tbsp of nonsanded grout were more than enough for a single 2×4 piece of plywood.
Step 2: Mix the grout and paint together well. Really well. The slight lumps of pancake batter are too lumpy for this project, as we found out. The bigger lumps in the paint mixture will be seen on the finished project, which means keep stirring until you are satisfied.
Step 3: Paint! We did three coats, allowing each coat to dry in between.
Step 4: Once dry, it is ready to hang. We drilled each corner securely into our fence.
Step 5: Get out the chalk and start coloring!
But wait! It can be even easier…
Home Depot – and probably other home improvement stores – sell 2×4 plywood already painted with exterior-quality chalkboard paint. At first we did not want black, we wanted a blue and a grey, and we made one chalkboard of each color. Excited about how the project turned out, we decided to add one more panel, this time black to better show the chalk drawings, and that’s when we went with the pre-made store version. DIY opportunities exist with the pre-made chalkboard: a frame around the edges can be cut, painted, and assembled and it’s an easy opportunity to teach kids to use a drill. My six year old son installed our third panel with a little guidance and help reaching the high places from his dad. My son had a great feeling of accomplishment, despite not having painted the third board.

