Was there ever a celebration that couldn’t benefit from a little confetti?
🎉 Birthdays? Check.
🎉 New Year’s Eve? Check.
🎉 Fourth of July? Check.
🎉 Tuesday night? Check.
The best news is that you don’t have to make a special trip to add some pizazz to your favorite occasion. With a few household items, you can make your very own custom confetti popper!
Suggested Ages: 7+
This is no ordinary DIY project for kids: It’s a step toward becoming an innovator
Every Galileo Design-It-Yourself challenge teaches the same techniques that professional designers, engineers, artists and chefs use in their work. With skills like these, we believe you can change the world.
All innovators need these→ keep an eye out!
KNOWLEDGE: Facts, skills or context to inform your project
MINDSET: The right frame of mind to innovate
PROCESS: Steps to guide you along the path to your goal
The Design-It-Yourself Challenge
Envision and create a custom confetti popper with a one-of-a-kind design.
What You Need
- 6” cardboard tube, like a toilet paper roll
- 9” balloon, not inflated
- Scissors
- Paper
- Tape
- 2 teaspoons of confetti (you can make your own with cut-up paper scraps!)
- Any decorating materials you like (markers, stickers, googly eyes…)
Mindset Challenge
It’s easy to recreate a decoration design you’ve already seen. Your challenge is to be visionary by imagining a brand new design, coming up with new ideas and seeing if and how you can make them work. Will you invent a new pattern? Try out a novel combination of supplies? Depict a specific creature in confetti popper form? The possibilities are endless!
How to Make a Confetti Popper
Step 1:
Tie the open end of the balloon into a knot.
Step 2:
Use the scissors to cut the tip off the other end of the balloon.
Step 3:
Stretch the balloon tightly around one end of the cardboard tube. Use tape to secure the edge of the balloon to the cardboard.

Mindset Challenge
Stretching the balloon over the tube might be challenging, and it’s possible that you might not get the balloon on the tube exactly the way you want it the first time you try. But innovators are determined: they work hard tor each their goals, even if they make a mistake or have a setback. Don’t give up, think about what you might do differently, and then try again.
Step 4:
Wrap paper around the tube. Tape the edges down so the paper stays in place.
Step 5:
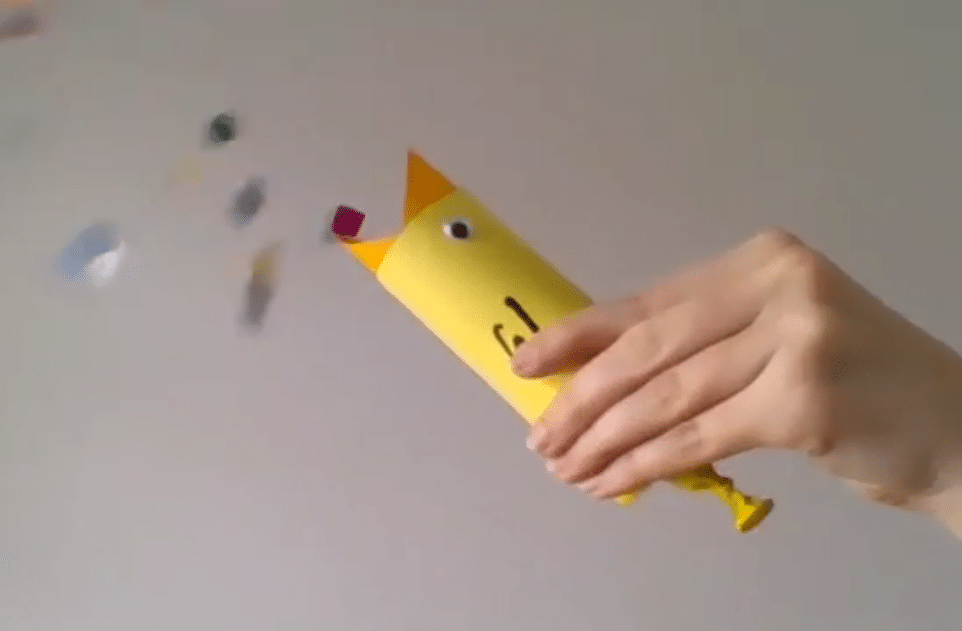
Use markers, stickers, paper, or whatever else you like to decorate your popper.
Step 6:
Use your hands or a quick scrap paper funnel to fill your popper with confetti.
Step 7:
Hold the main tube part of your confetti popper firmly in one hand. With thumb and index finger of your other hand, grasp the knotted part of the balloon. Pull back on the knot, then release it quickly to launch your confetti.
Step 8:
Don’t forget to clean up after yourself!