There’s nothing quite like receiving a friendship bracelet at the end of summer camp. It’s the kind of gift that says, “I’ll never forget you.”
Friendship bracelets have long been a camp classic, and for good reason: They’re fun and easy to make. With a few basic materials and some simple instructions, any kid can make a camp friendship bracelet.
Whether your child wants to prepare for summer camp or is keen to make a friendship bracelet at home, you’ve come to the right place. In this in-depth guide, we’ll be explaining how to make easy friendship bracelets, exploring some alternative designs and sharing the benefits of bracelet making.
A Step-by-Step Guide to Making Friendship Bracelets
With their bright colors and intricate patterns, friendship bracelets can look complicated. However, making them is anything but.
So, without further ado, here’s how to make a classic friendship bracelet.
Step 1: Assemble Your Supplies
Before you start dreaming up designs and picking out colors, it’s worth collecting the necessary equipment. That way, you won’t have to stop once you dive in.
If you’re at camp, a counselor will likely have these supplies ready for you. However, if you’re at home, you’ll need to gather these must-haves. You’ll need:
- A weaving material – The most important ingredient is the material you want to weave into a bracelet. While any long threads will do, we recommend using embroidery floss, yarn or string. Whatever you choose, make sure it’s bright and colorful—the colors will come together to create an eye-catching pattern.
- Tape or pins – You’ll also need something to hold your friendship bracelet in place while you make it. You can use tape to stick your threads to a clipboard or table. Alternatively, you can take a safety pin and attach your work-in-progress to a pillow or your pants. Pins are also handy to have for fixing any mistakes (more on that later).
- A flat surface – As mentioned, you’ll need something to attach your bracelet to. At camp, your counselors will likely give you a book or clipboard to tape your threads to, but any surface will do.
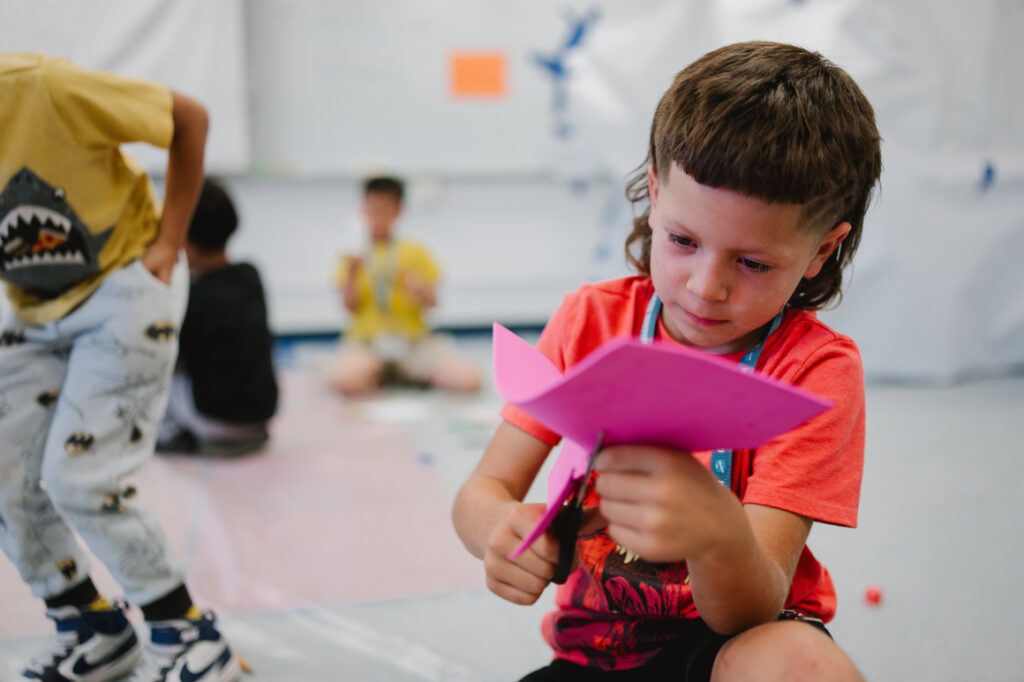
- Scissors – A pair of scissors is necessary for snipping the threads into bracelet-sized pieces. If the only scissors around are extra sharp, an adult should probably handle the cutting.
- A measuring tape (optional) – Although you don’t need a measuring tape, it can be helpful to know how long your threads are. That way, if you’re satisfied with your first bracelet, you can make your second one the same length.
Step 2: Choose Your Threads
Once you have your supplies ready, it’s time to prepare your threads for bracelet making.
To start, you’ll need to decide how wide you want your bracelet to be. For a thin bracelet, you can weave together four threads; for something wider, you can use up to eight. Keep in mind that the more threads you choose, the longer it will take to make your friendship bracelet.
At this stage, you’ll also be choosing your colors. You can make every thread a different color for a kaleidoscopic pattern, or you can pick a few complementary colors and alternate them.
For beginners, we suggest starting with four different-colored threads.
Step 3: Measure and Cut Your Threads
Next, you’ll need to measure out your material. This step is essential—cut your threads too short, and your friendship bracelet won’t fit; too long, and they can be challenging to work with. With that said, longer is always better than shorter, as you can trim your bracelet at the end.
If you have a tape measure, use it to measure out roughly 3 feet (1 meter) of each color. If you don’t have a tape measure or ruler handy, don’t worry—you can use your body. Take one end of the thread in one hand and pull it across your chest until your arms are outstretched.
By the end of this step, you should have four or more strands of equal length.
Step 4: Start Your Bracelet
Now, the fun part begins. To start your bracelet, gather all your threads together and tie a knot at one end. This knot allows you to either pin your threads to a soft surface or tape them to a hard one.
From here, you’ll need to choose the order of your colors. Lay out all the threads side by side, then arrange them into your preferred pattern. For example, if you’re making a two-colored bracelet, you might go:
- Red
- Yellow
- Red
- Yellow
Finally, you’re ready to bring your bracelet to life.
Step 5: Make the Knots
Starting from the left side, you’ll take the first thread, bringing it over and under the second thread to form a knot.
Hang on to the second thread with one hand and pull the first thread upward so the knot sits at the top of the bracelet. Pull it tight (but not too tight), and then repeat this process, giving you two identical knots in a row.
Next, move on to threads one and three, and repeat this two-knot process. Then, do threads one and four, one and five and so on.
Once you reach the end, start over with the two threads on the left (originally, these were threads two and three). Continue this left-to-right knot-tying until your bracelet is long enough to fit comfortably around the wrist.
If you miss a knot during this process, you can easily fix it. (You’ll spot a missed knot quickly, as the pattern won’t line up.) Using a pin, carefully pick out your knots until you reach the missing one, then continue as normal.
Step 6: Tie Off Your Bracelet
When you’re satisfied with the size of your friendship bracelet, all you have to do is make another knot at the bottom. And that’s it! Your classic friendship bracelet is complete.
Now, you can bring it to your friend, tie it around their wrist and trim off any excess thread.
Once you know how to make friendship bracelets for beginners, the sky’s the limit. Feel free to experiment with new patterns, colors, and styles—your camp friend will thank you later.
Beyond the Basics: The World of Bracelet Designs
Speaking of other styles, there’s so much to discover when making bracelets.
While the steps above are for making “traditional” friendship bracelets, the reality is that any bracelet can be a friendship bracelet. It’s the meaning behind the gift that matters: If a friend gives you a bracelet at camp, it’s a friendship bracelet.
With that in mind, there’s a whole world of bracelet designs to explore, with dozens of different designs and thousands of colors.
If the bracelet above isn’t your style—or if it feels too complicated—you can try one of these other bracelet types instead:
- Braided bracelets – If you know how to braid hair, you can make these three-string bracelets. After tying a knot at the top, simply braid the three threads until you’ve made a large enough bracelet.
- Double-strand bracelets – Yes, you can even make a bracelet with two threads! All you have to do is tie a knot at the top, then alternate tying knots between strings one and two (just like we do in step 5, but with two threads only).
- Beaded bracelets – This bracelet is one of the easiest to make, as it only requires one thread. These are the friendship bracelets you’re most likely to see at a concert. To make one, lay out your beads, shells or charms in the order you want them, then thread a string through the holes. Tie the ends of the string in a knot, and you’re all set.
- Chevron bracelets – For something more complex, you can make an eight-strand chevron bracelet. Rather than the diagonal “candy stripe” pattern you’ll get from our tutorial, chevron friendship bracelets look like a series of arrows.
Why Make Friendship Bracelets at Camp?
Whether your child makes one of the bracelets we’ve mentioned or any of the countless others, they’ll enjoy all the benefits of bracelet-making. These include:
- Spending time with friends – Making bracelets is usually a group activity. That means your child can make memories with their fellow campers as they braid and weave.
- Forging a long-term connection – Friendship bracelets can also symbolize a lasting relationship. At camp, they’re often accompanied by phone numbers, email addresses and promises to keep in touch.
- Showcasing creativity – With so many colors and patterns to choose from, friendship bracelets allow kids to express themselves.
- Developing fine motor skills – Although braiding a bracelet isn’t too difficult, it does require some precision. As such, bracelet-making is an excellent craft for younger kids as they develop their coordination.
Making Bracelet-Worthy Friendships at Camp Galileo
At the end of the day, friendship bracelets aren’t about string and knots. They’re a symbol of the friends we make along the way.
Camp Galileo is the kind of place where those bracelet-worthy friendships are forged. With fun activities and skill-building challenges galore, every day is an adventure. By the end of the week, your kid won’t be able to make friendship bracelets fast enough.
Explore our locations across California, Chicagoland, Seattle, and Colorado! Located in Southern California? Be sure to check out our Carlsbad summer camp or our Irvine summer camps. We have Camp Galileo locations across many communities. Use our Camp Finder to find the locations nearest you.

Sources:
Today. Why are Swifties trading friendship bracelets? Inside the nostalgic trend. https://www.today.com/popculture/music/taylor-swift-eras-tour-friendship-bracelets-rcna99768