
Spooky season is here, and Halloween is just around the corner. You’ve got your costumes on lock. You have a trick-or-treating plan of attack. All that’s left now is some good old-fashioned pumpkin carving.
Maybe you’ve had your jack-o-lantern design in mind for days. Maybe you’re more of a go-with-the-flow carver and plan to ideate on the fly. Or maybe you like to take a more measured approach with the aid of some pumpkin carving templates. One thing’s for sure: so long as you’re having fun, there’s no wrong way to carve a pumpkin.
If you’re seeking inspiration, check out these free pumpkin stencils and pumpkin carving tips to create your very own gorgeous gourds.
Free Jack-o-Lantern Patterns
From rubber chickens to shooting stars to Robot Dracula, these designs are sure to capture your imagination.
Robot Pumpkin Stencil

Rubber chicken Pumpkin Stencil

Shooting Star Pumpkin Stencil

Paper Plane Pumpkin Stencil

Dracula-Bot Pumpkin Stencil

How to Carve a Pumpkin
Whether this is your first-ever jack-o-lantern or you’d just like a little refresh, these tips can help you get started.
Step 1
Gather your materials. You’ll need:
- Newspaper, to protect your work surface and make clean-up a breeze
- A bowl large enough to hold scooped-out pumpkin seeds and strings
- Carving tools like a scooper, a poker, and a serrated carving knife
- Tape, if you’re using a pumpkin stencil
- A candle or battery-powered light to illuminate your creation
Step 2
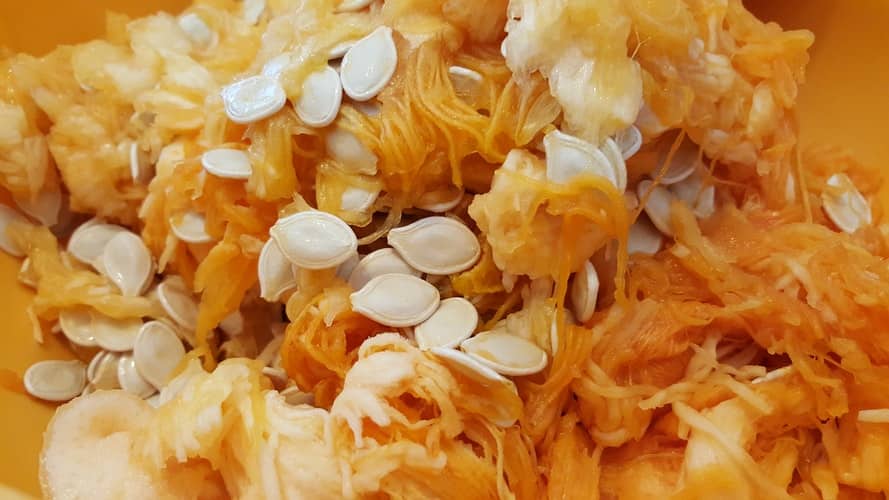
Prepare your pumpkin for carving. Cut off the top portion in a circle around the stem. Use a scooper to hollow out the insider, removing all the seeds and strings.
Step 3
If you’re using a pumpkin stencil, print your jack-o-lantern pattern to the appropriate size to fit your pumpkin. Tape your pattern to the pumpkin and use a poking tool or sewing pin to poke through the outlines of the pattern. When you’re done poking the outline, remove your pattern from the pumpkin.
Step 4
Use your carving tools to follow the outlines you made. Cut out any shapes where you want the light to shine through completely, such as those marked in black in the pumpkin pattern. For shapes where you want the light to partially filter through, carve the surface of the pumpkin so that the hard outer layer is removed and the softer, lighter layer underneath is exposed.
Step 5
Light it up! Set a candle inside of your pumpkin and use a barbecue lighter to bring it sparkling to life. For a flame-free take, use a small battery-powered light instead.